
To connect ChatGPT to an authorized Windows computer, you need a supported computer-access integration, a device enrolled by its owner and an AI client that can invoke the required tools. ChatGPT's ordinary web environment does not automatically share your local Windows session. The exact connection steps depend on the Noxgild plugin or MCP connector currently available to your account, so verify eligibility and the live setup before trying actions on a machine.
What you need before starting
Use a Windows computer you own or are explicitly authorized to manage. Confirm it is online, has a supported operating system and can reach the service securely. Keep administrative credentials private. For an initial test, choose read-only tasks such as inspecting system information or listing a known folder; there is no reason to grant elevated privileges just to prove connectivity.
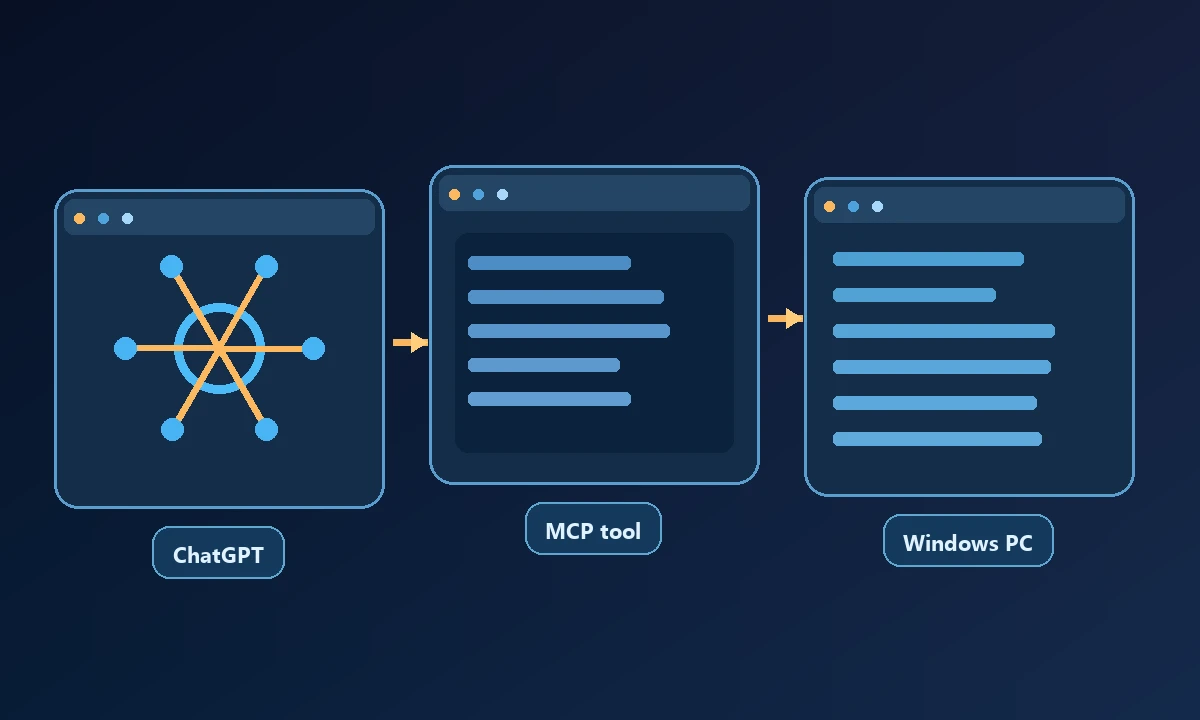
Also decide which ChatGPT environment you are using. A connected plugin, custom MCP server or separate cloud-computer feature may expose different tools. Do not assume a cloud browser controls a user's existing signed-in Chrome or Edge profile.
Before attaching a computer to a ChatGPT workflow, decide where the assistant will run and what connection method the current account actually supports. A cloud task, a desktop tool and a remote MCP connector are not automatically the same environment. The safe AI computer connection walkthrough provides a useful baseline: select an owned device, authorize only the needed capability and verify a read-only result before asking the assistant to act.
Step 1: Enroll the target computer
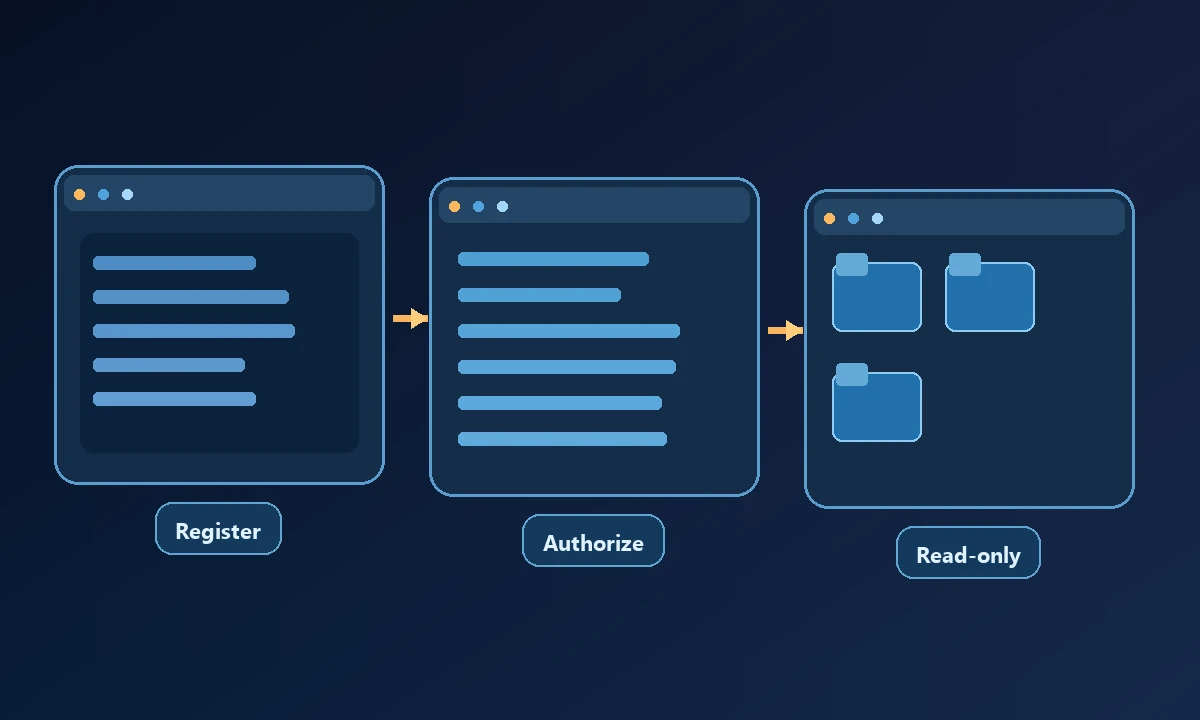
Follow the current Noxgild computer setup instructions to install or enable its authorized device worker. Complete device registration in the owner-controlled account and confirm that the device appears online. Record the machine name and inspect the connection status. If the worker is unavailable, fix its configuration before attempting commands in ChatGPT.
Step 2: Connect the supported ChatGPT tool
In the ChatGPT account, locate the supported Noxgild integration or MCP connection entry, when available to your plan and environment. Complete the service's normal authorization flow and select the account containing the enrolled device. Do not transfer session cookies or paste long-lived access secrets into the conversation. If an integration is not offered in your account, do not fabricate an install path; verify the provider's published availability first.
Step 3: Prove read-only access
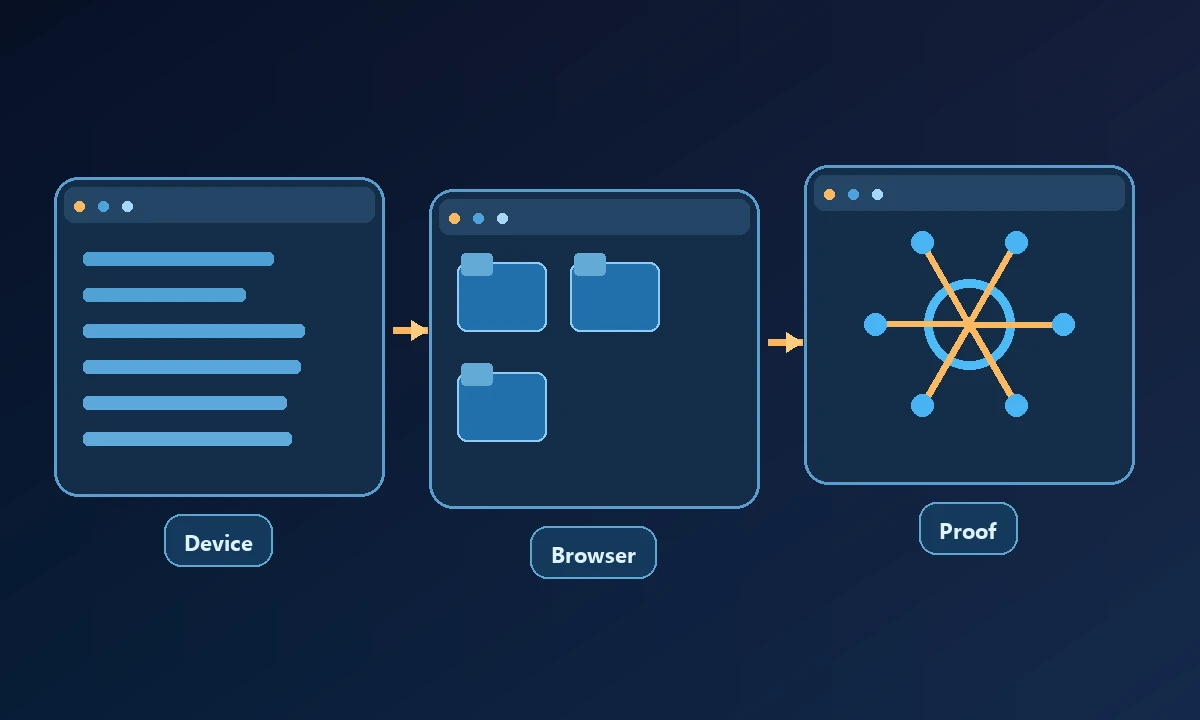
Ask the connected assistant to list the authorized devices, read system information for the intended Windows machine and list a harmless folder. Inspect the actual tool response and confirm the reported computer identity. A reply that merely says "connected" without successful tool output is not a passed connection test.
Noxgild can operate an enrolled computer when used through a supported client connection. At the time of this review, the public ChatGPT integration page did not establish that every ChatGPT or Work configuration was live, so the exact connector and eligibility must be checked in the user's account. Do not confuse an available computer capability with a promise that a specific client mode is supported; a workflow cannot safely proceed until that compatibility is confirmed.
Then test a failure case: specify an offline or nonexistent device and confirm that the tool reports the failure honestly. This helps distinguish an authenticated tool from a reliable device-operation workflow.
Step 4: Add more control gradually
Only after the read-only test passes should you explore permitted file changes, process operations or desktop interaction. Use narrow scopes and explicit approvals for meaningful writes. Browser mode deserves separate validation: a browser attached to a different profile may not contain the account session you expect. Review the browser-mode guide before automating signed-in websites.
The MCP authorization specification explains how supported remote tool servers authenticate clients; it does not grant Windows administrator rights.
Once the supported connection is confirmed, test a permitted file lookup and verify the returned device and path. Follow with a benign browser or desktop operation only if those tools are actually enabled. The available device capabilities explain why a successful connection may still lack a requested action. If the integration option is unavailable in the current ChatGPT environment, stop at that limitation instead of inventing a setup step.
Troubleshooting common failures
If ChatGPT sees no devices, check that the correct Noxgild account is connected. If the computer appears offline, check its worker and network access. If a file operation returns a permission error, inspect the selected scope instead of bypassing OS controls. If browser actions reach the wrong page, verify the exact browser session and profile.
Use Noxgild's security documentation and connection diagnostics when a tool fails. The workflow is complete only after you have a successful read-only call, verified device identity and a clear plan for limiting future actions.